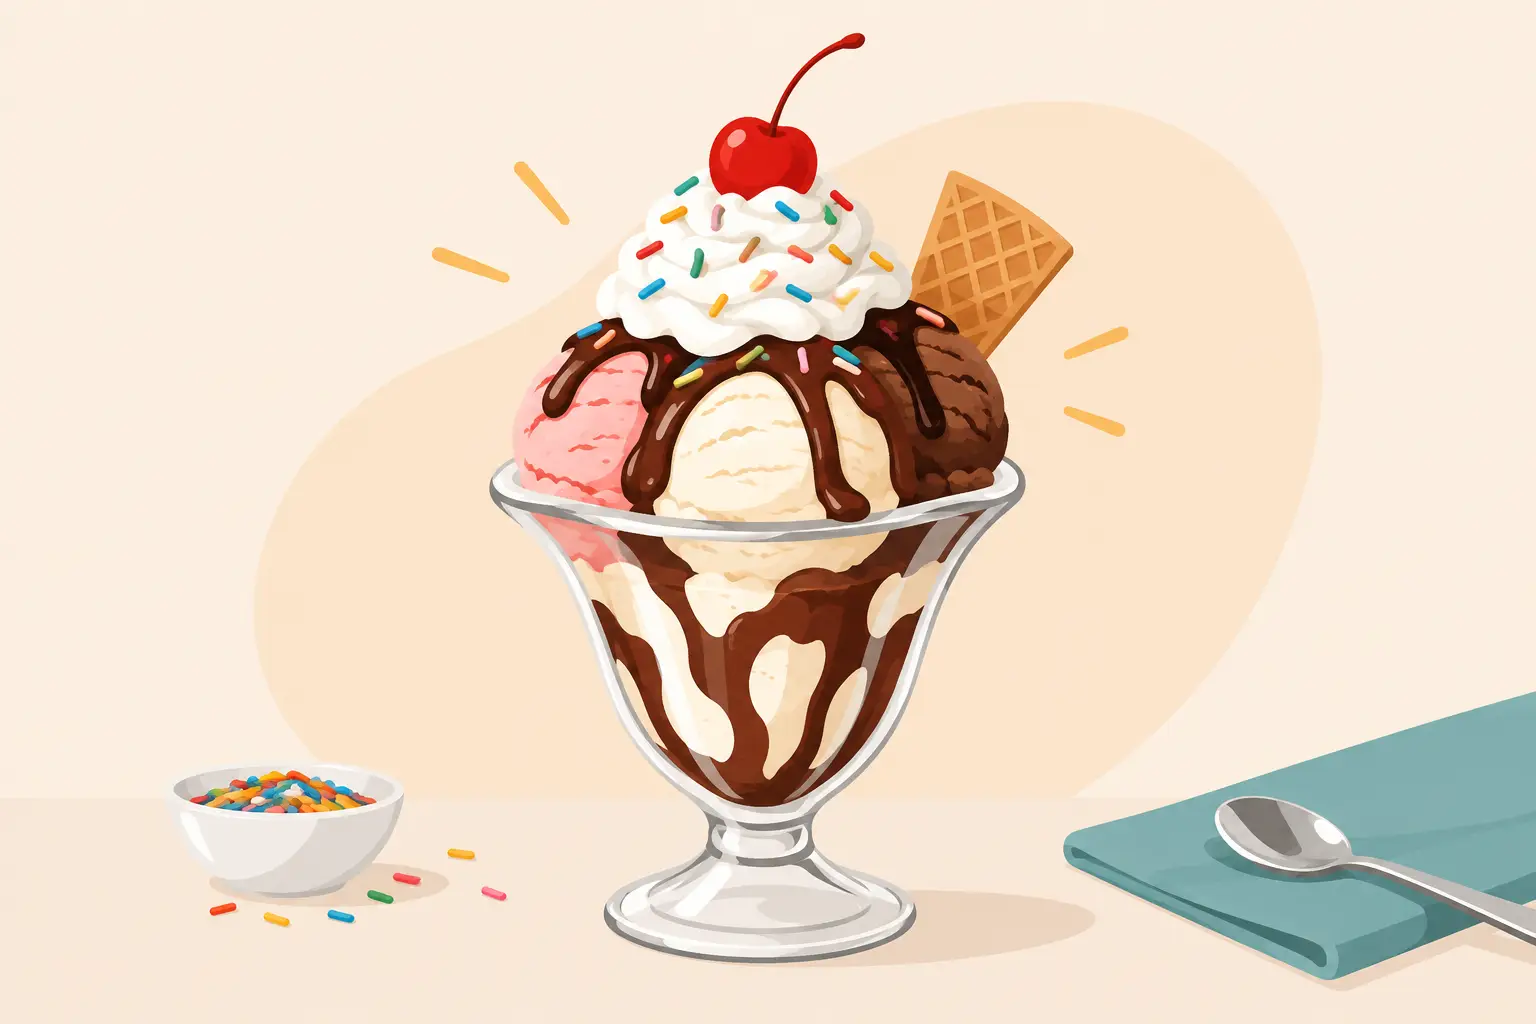
A great sundae does not politely sit in a bowl. It arrives piled high, dripping with sauce, sparkling with sprinkles and begging for a photo before the first spoonful disappears. Knowing how to build a sundae means getting that glorious mix of cold, creamy, crunchy and chewy in every bite – whether you are creating an after-school treat, a birthday showstopper or a full-blown Friday-night dessert situation.
At Boofs, we reckon a sundae should feel like a delicious blast from the past: generous, colourful and just a little bit over the top. The trick is not using every topping in the pantry. It is building in layers, choosing flavours that get along, and serving it before the ice cream turns into a milkshake.
Start With the Right Sundae Base
The best sundaes begin with ice cream that is rich enough to hold its own against sauce and toppings. Premium ice cream gives you a creamier spoonful and a slower melt, which matters when you are layering it into a tall glass or sharing it across the table. Pick one flavour for a clean, classic result, or combine two that complement each other.
Vanilla is the all-star base because it lets hot fudge, fruit, lollies and crunch do their thing. Chocolate lovers can go all in with chocolate ice cream, brownie pieces and chocolate sauce, but add something sharp or salty so it does not become too heavy. Strawberry works beautifully with white chocolate, marshmallow and biscuit crumbs. Hokey pokey brings a proper Kiwi twist, especially with caramel sauce and banana.
For one generous sundae, use three medium scoops of ice cream. Four scoops can look spectacular in a tall diner glass, but only if the glass is wide enough to eat from without sending a scoop rolling onto the table. A bowl is the safer choice for younger kids, while a clear sundae glass makes the layers part of the fun.
Give Your Ice Cream a Head Start
Take the ice cream out of the freezer for a few minutes before scooping. You want it firm but scoopable, not soft and soupy. If it is rock-hard, warm your scoop in hot water, shake it dry, and work quickly. Rounded scoops look better, melt more evenly and make the whole creation feel properly special.
Chill your serving glass or bowl beforehand if you can. It is a small move with a big payoff, especially on a warm Hamilton afternoon. Cold glass keeps the first scoop from immediately slipping into a puddle.
How to Build a Sundae in Delicious Layers
Layering is what separates a proper sundae from ice cream with bits thrown on top. Start with a little sauce or a spoonful of fruit at the bottom of the glass. This gives the first few bites something exciting and stops the base from being plain ice cream.
Add your first scoop, then a small amount of crunch. Follow with the second scoop, a ribbon of sauce, then another layer of texture. Place the final scoop on top as the grand finale. This top scoop is where your tallest, prettiest toppings belong.
Do not drown each scoop in sauce as you go. A sundae needs little pockets of flavour, not a flood. If you use warm chocolate or caramel sauce, let it cool for a moment first. It should be pourable, not piping hot. Hot sauce gives you that irresistible soft, melty edge, but too much heat will flatten the whole stack before it reaches the table.
A good rule is to choose one creamy element, one sauce, one crunchy topping and one playful extra. For example, vanilla ice cream, salted caramel sauce, crushed waffle cone and banana slices make a classic combo. Chocolate ice cream, cherry sauce, brownie chunks and whipped cream create a rich diner-style number. Strawberry ice cream, berry compote, white chocolate curls and mini marshmallows bring colour without becoming overly sweet.
Choose Toppings With Contrast
The most memorable sundaes have contrast. Think smooth ice cream against crisp nuts, gooey caramel against crunchy biscuit, or sweet chocolate with a tiny pinch of salt. Without contrast, even a big sundae can taste a bit flat by the third mouthful.
Crunch should stay crunchy, so add it between scoops or close to serving time. Crushed biscuits, waffle cone pieces, toasted nuts, honeycomb, cereal and brownie crumbs all work a treat. If you are making a sundae for someone with allergies, keep nuts separate and use a clean scoop and serving spoon. It is an easy way to make the dessert feel welcoming for everyone at the table.
Fruit adds freshness and colour. Banana is a diner classic, while strawberries, raspberries and cherries cut through rich chocolate flavours. Tinned cherries are wonderfully retro and their syrup can be spooned into the base. Fresh fruit is lighter and brighter, but pat it dry first so it does not water down your ice cream.
Then come the fun extras: colourful sprinkles, mini M&Ms, gummy lollies, marshmallows, chocolate buttons or a cheeky piece of fudge. These are brilliant for a kids’ sundae or a birthday table. For adults, try pretzel pieces, espresso syrup, toasted coconut or a little crushed meringue. The aim is indulgent, not chaotic.
Finish High, Then Serve Fast
Whipped cream belongs at the end, piled onto the top scoop rather than stirred through the layers. It creates height, gives you a soft cloud to break through, and makes even a simple sundae look celebration-ready. Add it with a spoon for a homemade look or pipe it in a swirl if you want full retro diner drama.
Finish with a cherry, a wafer, a biscuit, a drizzle of sauce or a scattering of sprinkles. Choose one main finishing moment rather than five competing ones. A tall wafer adds theatre, but it will soften quickly, so pop it in at the last second. A cherry is classic for a reason: it adds a bright pop of colour and tells everyone this is not just dessert – this is a sundae.
Serve with a long spoon and a napkin. If your sundae is especially loaded, add a second spoon and make it shareable. Some of the best dessert memories begin with two people insisting they will only have a bite, then quietly scraping the last caramel from the bottom of the glass.
Build a Sundae for the Occasion
The occasion can guide your flavour choices. A family movie night calls for familiar favourites such as vanilla, chocolate sauce, sprinkles and lollies. A birthday calls for colour, whipped cream and a few extra wafers. A grown-up catch-up might suit coffee ice cream with caramel, chocolate shards and toasted nuts.
For a make-your-own sundae bar, keep the ice cream in the freezer until the last possible moment and arrange toppings in small bowls. Put wet toppings such as sauces and fruit in separate dishes from dry toppings such as biscuits and sprinkles. That keeps everything looking fresh and lets guests build exactly the kind of glorious mess they want.
If you are serving a crowd, do not try to pre-build every sundae too early. Scoop the ice cream first, then bring people through in small groups to add toppings. It is more relaxed, less melty and far more fun than racing around with a dozen collapsing towers of ice cream.
The Sundae Mistakes Worth Avoiding
More is not always better. Too many flavours can make every bite taste muddled, while huge chunks of topping can make the sundae difficult to eat. Keep pieces spoon-sized, particularly for children, and avoid piling heavy toppings on an already-soft top scoop.
Watch the sweet-on-sweet balance, too. If you choose a sugary ice cream and candy toppings, use a fruit sauce or salted crunch to bring it back into line. If you are using a tart berry compote, a sweeter vanilla or white chocolate element can make the whole thing feel rounded. Sundaes are meant to be indulgent, but they should still make you want another spoonful.
The final mistake is waiting. A sundae has a brief, brilliant window when the ice cream is firm, the sauce is glossy and the toppings are at their best. Build it with confidence, carry it straight to the table, and get stuck in.
Next time the craving hits, start with three good scoops and let your favourite flavours do the talking. A little sauce, a little crunch and a towering finish can turn an ordinary bowl of ice cream into the sort of treat people talk about all the way home.